How to paint a bicycle

How to paint a bicycle? Painting a bicycle is a great way to give an old bike a new look or simply update its appearance. The process requires careful preparation and the use of the right materials, but the end result can be very rewarding. In this article, we will go through how you can paint your bike yourself and provide useful bike painting tips to achieve the best possible outcome.
Prepare the bike for painting
Before you start the bike painting process, it is important to prepare the bike carefully. Start by removing all parts that you do not want to paint, such as tires, chains, and the saddle. This makes painting easier and ensures that the paint does not end up in the wrong place. Use tools like a wrench and screwdriver if necessary to remove parts.
Next, clean the bike frame thoroughly. Remove all dirt, grease, and old paint so that the new paint adheres better. You can use sandpaper or steel wool to remove the old paint. Also, remember to wash the frame with soapy water and dry it thoroughly before painting.
Once the bike is clean and dry, cover all parts that you do not want to paint, for example, with tape or plastic. This protects them from paint splatters and ensures a neat finish.
Tips for achieving the best painting results
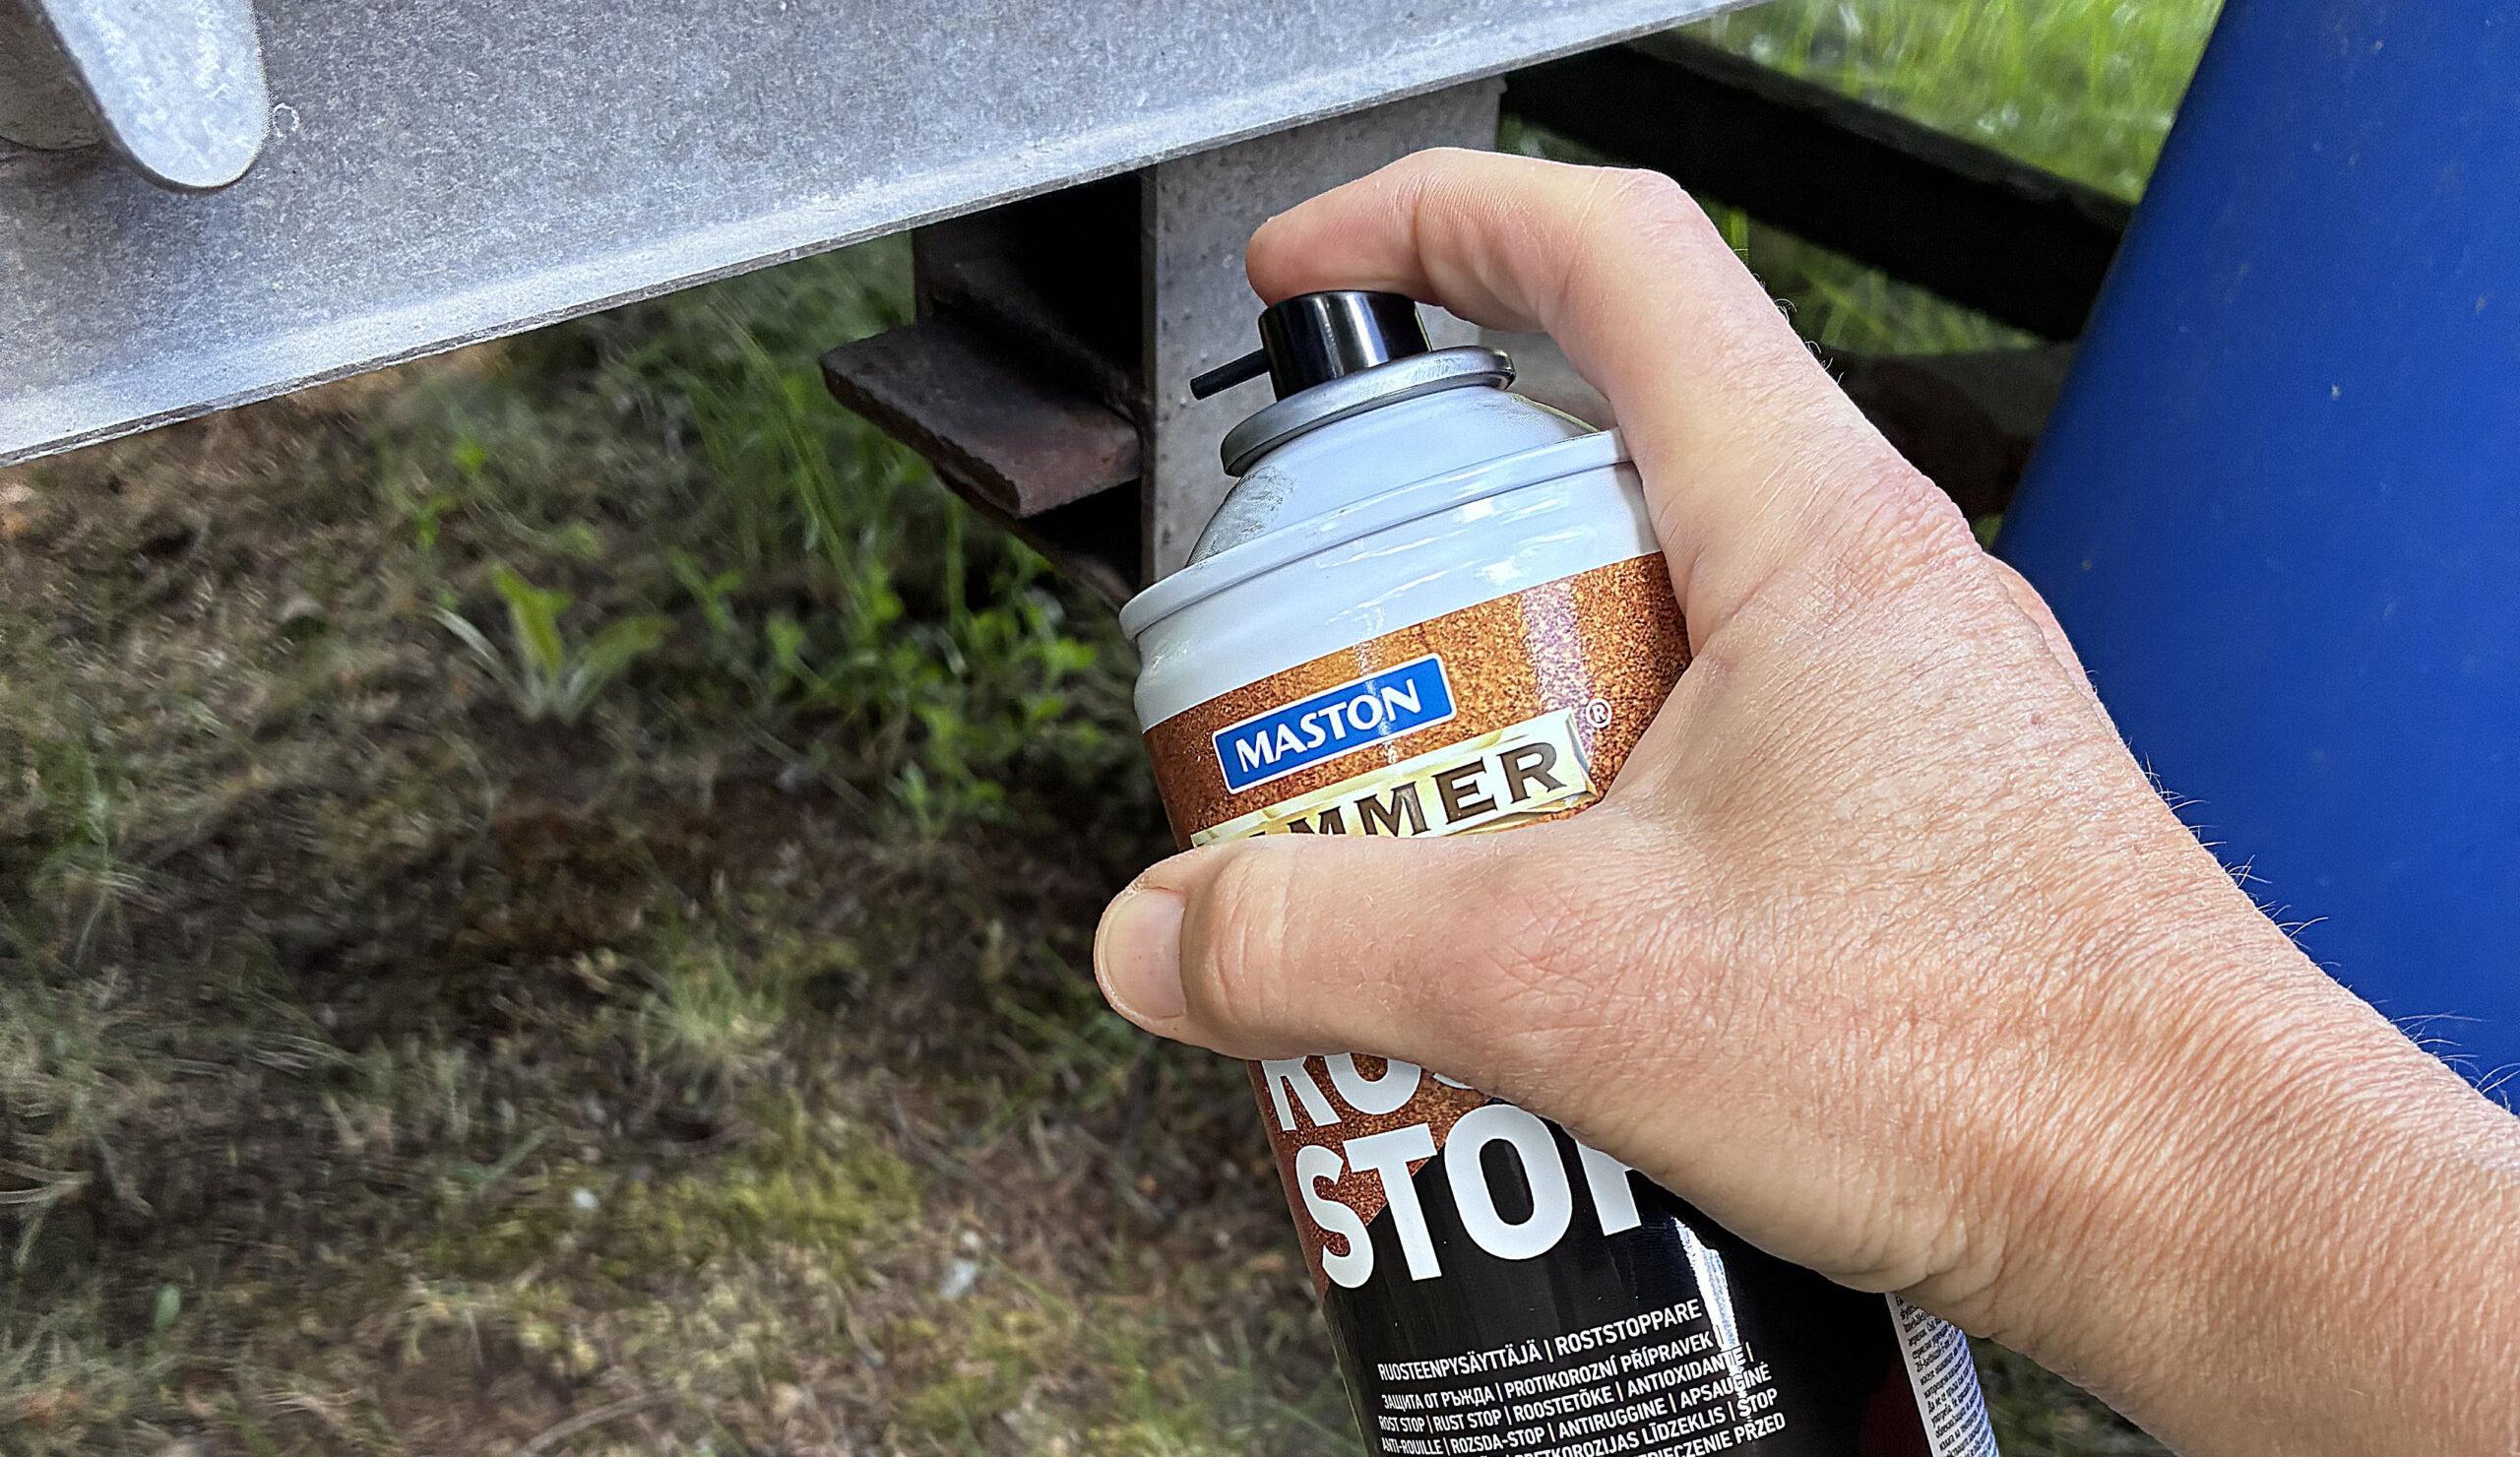
Bike painting is most successful when you use quality materials and follow the right techniques. Choose spray paint for the bike that is specifically designed for metal surfaces. Maston paint is an excellent choice as it provides a durable and even finish.
When you start painting, make sure you work in a well-ventilated area. This not only improves paint drying but also protects you from harmful fumes. Use protective gear such as a respirator and safety glasses to ensure safety.
Apply the paint in thin and even layers. It is better to apply several thin layers than one thick layer, as this prevents drips and ensures an even surface. Allow each layer to dry properly before applying the next.
What kind of paint should you use for a bicycle?
When choosing paint for your bicycle, it is important to select a product designed to withstand external conditions. Maston paint is an excellent choice as it is specifically developed to withstand wear and weather. This paint offers excellent adhesion and durability, making it an ideal choice for bike painting.
Spray paint for bikes is easy to use and provides an even finish. It also dries quickly, making it a convenient option when you want to complete the project quickly. Maston paint is available in several different colors, so you can choose the shade that suits you best.
Remember to choose paint that is compatible with the bike’s material. Most bike frames are aluminum or steel, and Maston paint is well-suited for both materials.
Important steps in the painting process
The bike painting process begins with the application of a primer. The primer improves paint adhesion and helps achieve an even finish. Apply a thin layer of primer and let it dry completely before applying the actual paint.
Once the primer has dried, you can start applying the actual paint. Use spray paint and hold the can about 20-30 cm away from the surface. Move the can evenly back and forth to ensure the paint spreads evenly.
Apply the paint in several thin layers, allowing each layer to dry before applying the next. This ensures that the paint does not drip and the result is even and durable. After spraypaint has dried add some lacquer to finish the paintjob.
How to protect non-paintable parts
Before starting painting, it is important to protect all parts that you do not want to paint. Use painter’s tape or plastic to cover parts such as brakes, gears, and other components that should not come into contact with paint.
Ensure that the tape is tightly secured so that the paint does not seep under the protected parts. You can also use newspaper or plastic film to cover larger areas.
Once you have painted the bike, remove the tapes and covers carefully before the paint is completely dry. This prevents the paint from tearing and ensures a neat finish.
Finishing and drying time
Once you have applied all the paint layers, allow the bike to dry properly. The drying time may vary depending on the paint and environmental conditions, but it is generally recommended to let the paint dry for at least 24 hours before assembling the bike.
In the finishing phase, you can add a clear coat that protects the paint and gives it a glossy finish. Apply the clear coat in the same way as the paint, in several thin layers.
Once the paint and clear coat are completely dry, you can reassemble the bike. Ensure that all parts are securely fastened and the bike is safe to use. Now you can enjoy your refurbished bike, which looks like new!
If you are located outside of Finland, please check your local retailer for the products. Online store delivery is only available within Finland.
If you are located outside of Finland, please check your local retailer for the products. Online store delivery is only available within Finland.
Products for painting your bicycle
-
ONE Primer
12,20 € sis. 25,5% ALVMaston One® spray primer is the finest multi-surface spray paint ever made, turning even the most inexperienced user into a… -
Aluminium & Galvanized Metal Primer
13,38 € sis. 25,5% ALVMASTON ALUMINIUM & GALVANIZED PRIMER is a specially formulated primer/base coat for aluminum surfaces. It creates a microscopic structure on… -
ONE spray paint Gloss
12,20 € sis. 25,5% ALVMaston One® spray paint is the finest multi-surface spray paint ever made, turning even the most inexperienced user into a… -
Spraypaint Candy Effect
18,51 € sis. 25,5% ALVMASTON CANDY EFFECT is a fast-drying translucent coating, which mimics the look of anodized pearl aluminum. For indoor or outdoor… -
One lacquer
12,20 € sis. 25,5% ALVMaston One® spray lacguer is the finest multi-surface spray ever made, turning even the most inexperienced user into a paint…